
Beginner's Guide to Grilling Chicken Perfectly Every Time


Why Grilling Chicken Is Trickier Than It Looks
Chicken looks like the easy choice. It's cheaper than steak, it's familiar, and it seems forgiving. Most people assume that if you can cook chicken in a pan, you can cook it on a grill. Then they try it, and they end up with something charred on the outside and pink at the bone, or pale and dry all the way through, or both at once — which sounds impossible but absolutely happens.
The first time I grilled chicken on my own, I did exactly what I'd watched my dad do: threw the pieces on high heat and waited. The outside went dark fast, which I took as a good sign. It wasn't. The inside was raw. I put it back on, it burned more, I panicked and cut it into pieces trying to check it, and by the time the center was cooked the whole thing was a dry, blackened mess. That experience taught me that grilling chicken is not the same skill as grilling a burger or a steak, and treating it like it is will wreck your dinner every time.
The core problem is that chicken — especially bone-in pieces — has an uneven structure. Fat, bone, and muscle all conduct heat differently. A thigh with the bone in will take almost twice as long as the thinnest part of a breast. Meanwhile, chicken fat renders and drips, causing flare-ups that scorch the surface in seconds. So you're fighting two things at once: the need for sustained, even heat to cook through safely, and a grill that keeps trying to torch the outside before the inside catches up.
There's also the safety dimension, which you can't ignore the way you might with a medium-rare steak. Chicken needs to hit 165°F internally to be safe, and you cannot judge that by color or texture alone. The meat can look completely cooked — no pink, firm to the touch — and still be ten degrees short. That gap is where people get into trouble. Getting comfortable with a meat thermometer is the single biggest shift that separates consistently good grilled chicken from the guesswork most beginners are stuck in.
Choosing the Right Cut for the Grill
Not every piece of chicken behaves the same way over fire, and picking the wrong cut for what you're trying to cook is one of the fastest ways to end up with something dry, burnt, or just disappointing. The cut determines cooking time, how much fat you're working with, and how forgiving the whole process is going to be.
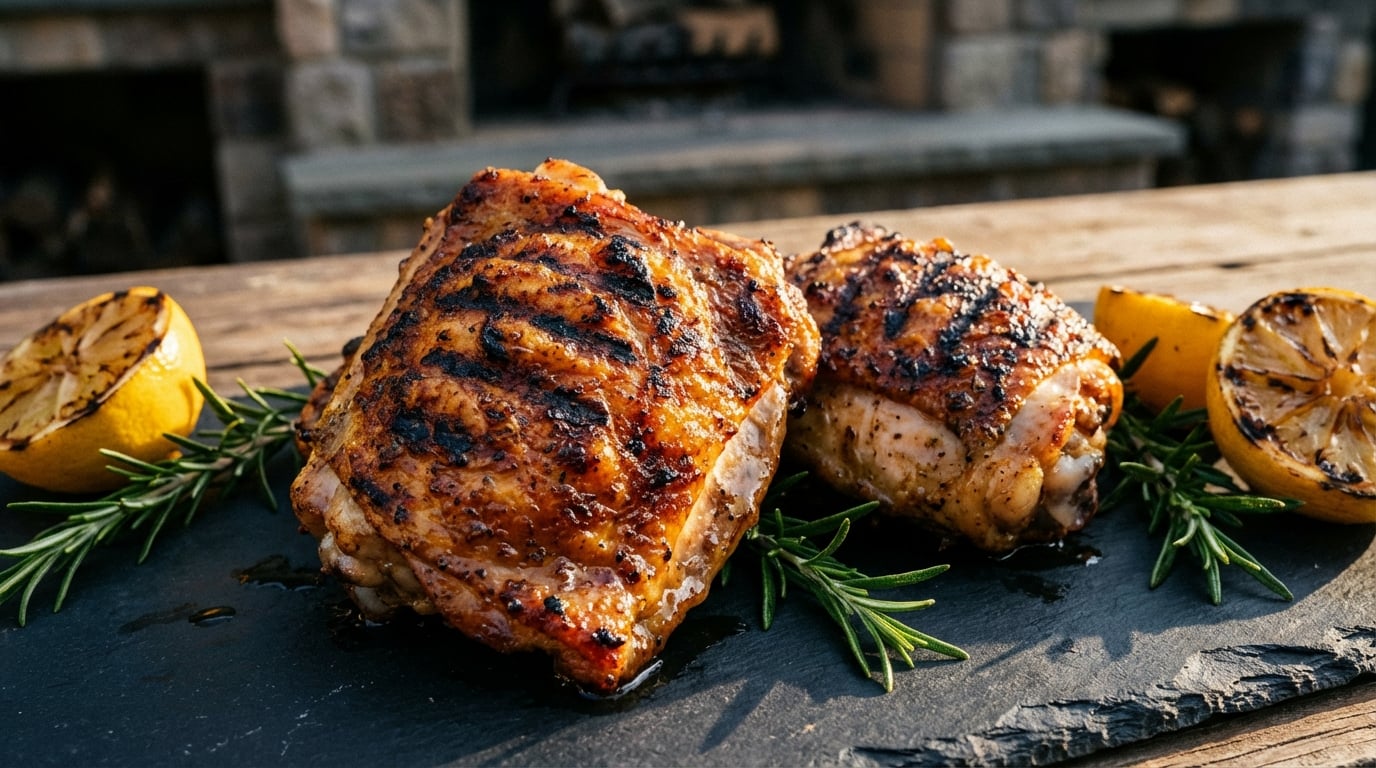
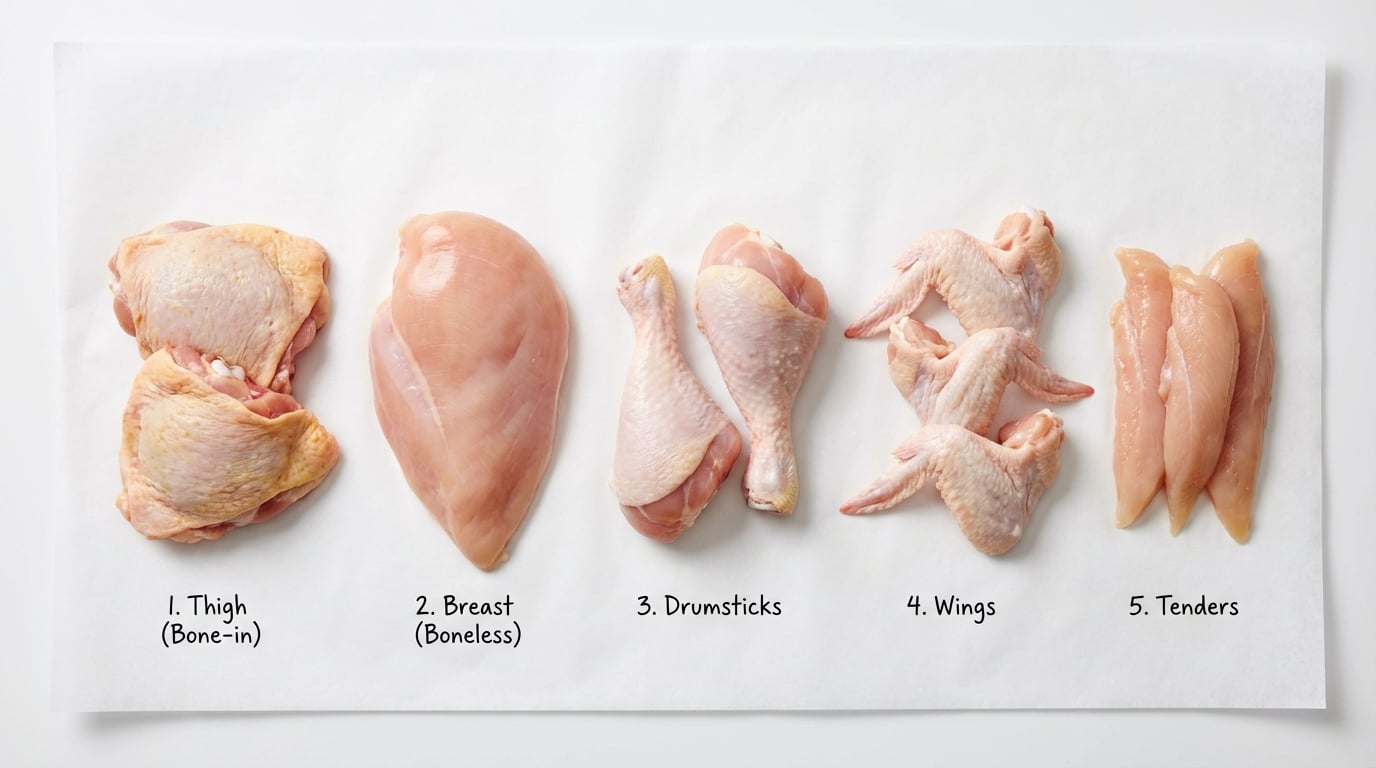
Bone-in, skin-on thighs are the best starting point for beginners. The fat under the skin bastes the meat as it cooks, the bone slows heat transfer so you have more time before things go wrong, and thighs are genuinely hard to overcook. I grill thighs almost exclusively when I'm cooking for a crowd and can't babysit the grill.
Boneless, skinless breasts are the hardest cut to grill well. No fat, no bone, no buffer — they go from perfectly cooked to dry in about two minutes. If you're committed to breasts, pound them to an even thickness of about ¾ inch before they hit the grill. Uneven thickness means one end is overcooked before the other end is safe to eat.
Drumsticks are forgiving and underrated. They have good fat content, the bone keeps them stable, and they cook evenly. Kids love them, they're cheap, and they hold up well to bold marinades. The one catch: the meat near the bone takes longer than it looks, so don't pull them early.
Wings work on the grill but need indirect heat first. Cook them over indirect heat for 20–25 minutes, then finish over direct heat to crisp the skin. Going straight to high heat chars the outside before the inside is done.
Spatchcocked whole chicken is the advanced move, not the beginner one. Skip the whole bird until you're comfortable managing two heat zones and reading doneness by feel. It's a great cook when you know what you're doing, but it punishes inexperience fast.
Avoid boneless, skinless chicken tenders on the grill. They cook in under four minutes, which sounds convenient until you realize you have almost no margin for error. They also stick easily and fall apart when you try to flip them.
What to Look for When Buying Chicken
The quality of what you pull off the grill is decided largely at the grocery store, not at the grill. I learned this the hard way after years of blaming my technique when the real problem was the bird itself.
First, look at the label. 'Natural' means almost nothing — it's a marketing word with almost no regulatory teeth. What you actually want is 'air-chilled.' Most supermarket chicken is water-chilled, meaning the birds are dunked in chlorinated water baths after processing. They absorb that water, which means you're paying for water weight and, more importantly, you're starting with wetter skin. Wet skin does not crisp on a grill. Air-chilled chicken costs a little more, but the skin browns properly and the flavor is noticeably cleaner. Brands like Bell & Evans and some store-brand organics use air-chilling — check the label.
For color, fresh chicken should be pale pink, not gray, not splotchy, not an aggressive yellow. A slight yellow tint on the skin is fine and often comes from the feed — that's not a problem. But gray patches anywhere on the flesh mean age. Put it back.
Smell it through the packaging if you can, or the moment you open it at home. Fresh chicken smells like almost nothing. Any sour or ammonia-like smell means it's turning. I don't care if it's still technically within the sell-by date — trust your nose over that sticker every single time.
On the question of organic versus conventional: I buy organic when the price difference is reasonable, mostly because organic birds tend to have been raised with more space, which usually means better muscle texture and slightly more flavor. But I won't tell you it's mandatory. What I will say is that if you're buying the cheapest industrial chicken at the bottom of the case and wondering why it's rubbery and bland after grilling, the starting ingredient is a real part of that answer.
If you have access to a butcher — even a decent grocery store meat counter — ask when the chicken came in. A bird that arrived that morning is meaningfully better than one that's been sitting since Tuesday. That single question has steered me toward better chicken more times than I can count.
Marinades, Brines, and Dry Rubs Explained
These three methods do very different things to chicken, and picking the wrong one for your situation will leave you frustrated. Here's how I think about each one:
Dry rubs are your fastest, most forgiving option. Mix salt, smoked paprika, garlic powder, onion powder, and a little brown sugar — about a tablespoon of salt per whole chicken's worth of pieces — and press it directly onto the skin. You can grill immediately, but if you let it sit uncovered in the fridge for even 30 minutes, the surface dries out slightly and you get dramatically better browning.
Marinades add flavor but do not tenderize the way people think. Acid (lemon juice, vinegar, yogurt) only penetrates about 2–3mm into the meat no matter how long you leave it. What marinades actually do is coat the surface and season it deeply. I keep mine to 2–4 hours max for chicken — beyond that, the acid starts breaking down the exterior texture into something mushy and unpleasant, especially on boneless cuts.
Brining is the single best thing you can do for chicken breasts. A wet brine is just water, salt, and a little sugar: 1 tablespoon of kosher salt per cup of water, enough to fully submerge the chicken. One hour in the fridge for boneless breasts, 2–3 hours for bone-in. The salt changes the protein structure so the meat holds onto moisture even when it hits high heat. I brined a batch of breasts for a cookout last summer and not one person got a dry piece — which, for chicken breasts on a charcoal grill, is basically a miracle.
Oil is not optional in a marinade. Fat carries fat-soluble flavor compounds from garlic, herbs, and spices into the surface of the meat. A marinade without oil is just acidic water sitting on top of your chicken. I use about 3 tablespoons of neutral oil per half cup of liquid.
Never reuse marinade as a sauce unless you boil it first. Raw chicken sits in that liquid, and anything that doesn't reach 165°F is a food safety problem. I bring it to a rolling boil in a small saucepan for at least 2 minutes if I want to use it as a glaze — otherwise I just toss it.
Setting Up Your Grill for Success
The single biggest mistake I see beginners make isn't with the chicken itself — it's with the grill. They light it, wait five minutes, and throw the chicken on while the temperature is still climbing and the grates are cold and dirty. Everything sticks, the skin tears, and they blame themselves when the grill was the problem the whole time.
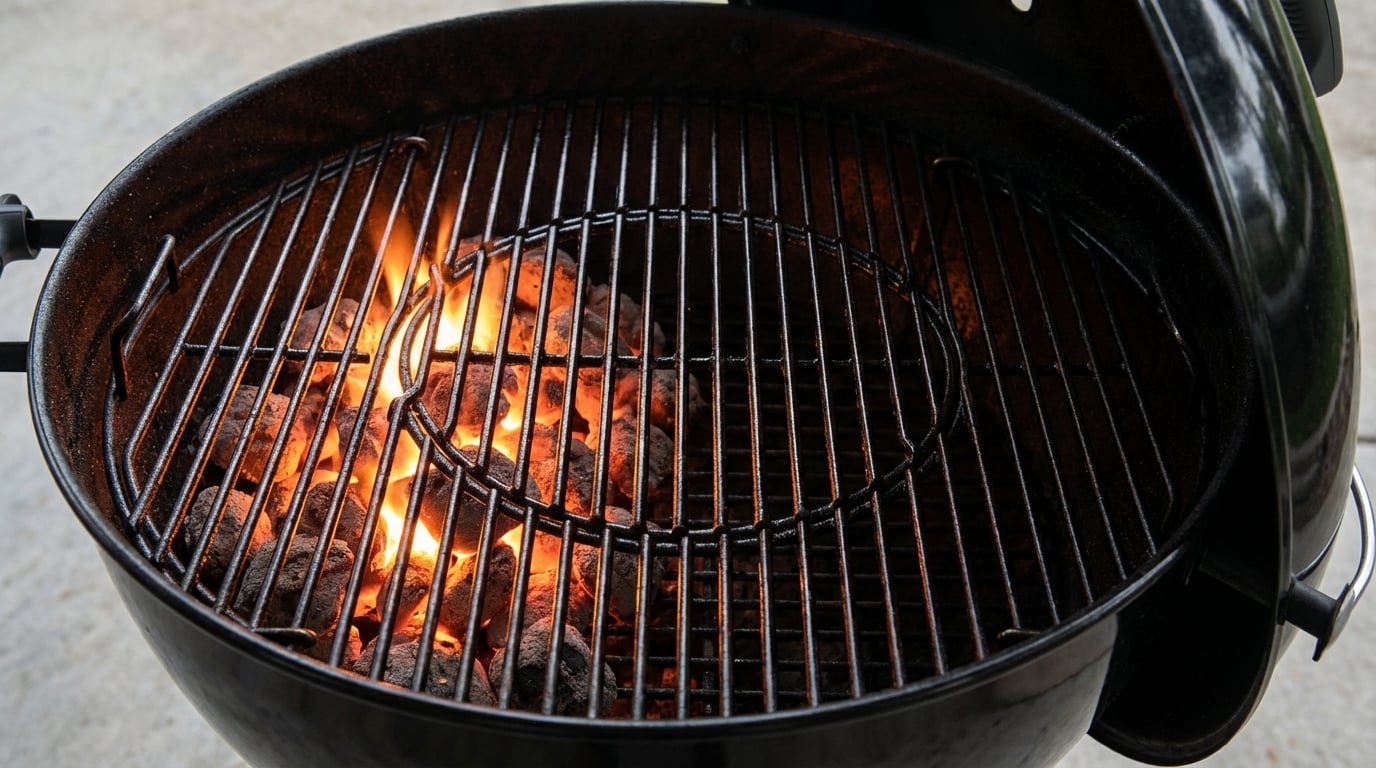
For charcoal, I use a chimney starter every time. Fill it, light the newspaper underneath, and wait until the top coals are fully ashed over — that's about 15 to 20 minutes. Then pour them out and let the grill come up to temperature with the lid on for another 5 minutes before you cook anything. You're looking for somewhere between 400°F and 450°F for most chicken pieces. For a gas grill, preheat all burners on high for at least 10 minutes with the lid closed. Don't shortcut this. A properly preheated grill is what gives you clean grate marks and skin that releases without a fight.
Once the grill is hot, clean the grates with a stiff wire brush. Burned-on residue from last weekend creates uneven heat and gives your chicken a bitter, acrid flavor in spots. After brushing, fold a paper towel into a tight square, grip it with tongs, dip it in a neutral oil like canola, and wipe the grates down two or three passes. This seasons them just enough to prevent sticking without causing flare-ups.
One thing I always do before the chicken goes on: close the lid for two minutes after oiling. You want the grates themselves radiating heat, not just the air around them. When the chicken hits the grates, you should hear an immediate, aggressive sizzle. If it sounds hesitant or quiet, the grill wasn't ready. Pull the chicken back, give it two more minutes, and try again. That sound tells you everything.
Essential Equipment for Grilling Chicken
Instant-read thermometer — Non-negotiable. I use a Thermapen, but any model that reads in under 3 seconds works. This one tool eliminates every guessing game about doneness.
Long-handled tongs (12–16 inch) — Not a spatula, not a fork. Tongs let you flip without piercing the meat and keep your hands away from flare-ups. I keep two pairs on the grill at all times.
Wire grill brush or grill stone — Clean grates before every cook, not after. Chicken sticks to dirty grates; it releases cleanly from clean ones.
High-smoke-point oil and a folded paper towel — Grip the oiled towel with tongs and wipe the grates just before the chicken goes on. Aerosol sprays near an open flame are a bad idea.
Chimney starter (charcoal only) — Lighter fluid leaves a chemical taste that no marinade covers. A chimney starter has coals ready in 15–20 minutes with zero off-flavors.
Grill-safe basting brush — Silicone, not natural bristle. Natural bristles fall out and stick to chicken. Silicone brushes also survive a hot-water wash without holding onto raw-chicken residue.
Timer — Your phone works fine. The mistake beginners make is drifting away from the grill. Chicken on direct heat needs your attention every 3–4 minutes.
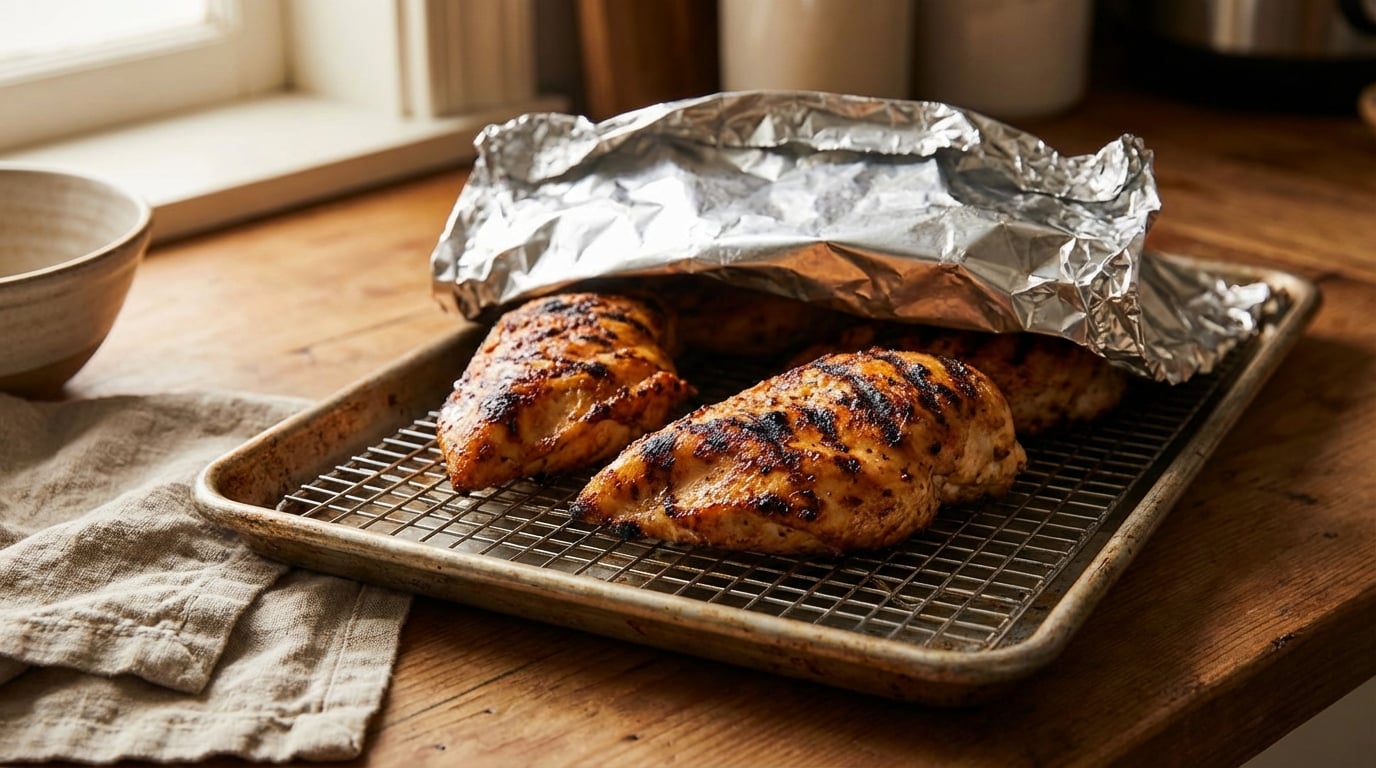
Half-sheet pan with a rack — For resting the chicken off the grill. Resting on a flat surface traps steam under the skin and softens it. A rack keeps airflow all around.
How Heat Zones Change Everything
The single biggest upgrade I made to my grilling was learning to stop treating the grill like one giant burner set to high. Chicken needs two temperatures working together — and once you understand that, you stop burning the outside while the inside is still pink.
The setup is simple. On a gas grill, I run one or two burners on high and leave one side off entirely. On charcoal, I pile all the coals to one side and leave the other side bare. That gives me a hot zone and a cool zone, and I use both on purpose, not by accident.
Here's why it matters for chicken specifically. Fat renders and drips, which causes flare-ups. Skin needs time to crisp without scorching. And thicker cuts like bone-in thighs and breasts take 30 to 40 minutes to cook through — you cannot do that over direct high heat without turning the outside to carbon. The cool side of the grill lets you control the pace.
My standard approach with bone-in pieces: I start them skin-side down directly over the hot zone for about three to four minutes to get color, then flip them and move everything to the cool side. The lid goes on, the grill acts like an oven, and the chicken finishes gently at around 375°F to 400°F internal grill temperature. I'm not babysitting it every 90 seconds — I check it at the 20-minute mark and adjust from there.
Boneless thighs and breasts are faster and can handle more direct heat, but I still move them to the cool side for the last five minutes if they need more time. Flare-ups are what ruin boneless chicken — a burst of flame for 30 seconds can char a thin breast before you've even registered what happened. Having that escape zone saves dinner more often than any other technique I know.
One thing that trips beginners up: they set up the zones correctly and then leave the lid off. The cool side only works as a gentle cooking environment if the lid is closed. Open lid, and you've just got chicken sitting next to a fire with no heat circulation around it. Close the lid, and you've got a controlled environment where the temperature wraps around the meat evenly.
How to Tell When Chicken Is Actually Done
The single biggest mistake beginners make at the grill is pulling chicken too early — or leaving it on so long they're just drying it out trying to feel sure. There are really only two reliable ways to know: a thermometer and knowing what to look for when you don't have one.
Use an instant-read thermometer. Every time. Insert it into the thickest part of the meat, away from bone. Bone conducts heat and will give you a falsely high reading. You're looking for 165°F (74°C) at the minimum, but for thighs and drumsticks, I actually pull at 175–180°F — the extra connective tissue in dark meat needs that higher temp to break down properly, and the texture is far better for it. Breasts come off at 160°F; carryover heat during resting brings them to 165°F.
The juice-run test is not reliable on its own. You've probably heard 'cook until the juices run clear.' That can work as a secondary confirmation, but I've seen pink juices from fully cooked thighs and clear juices from meat that was still at 155°F. Don't stake your dinner on it.
Pressing the meat tells you something, but takes practice. Raw chicken feels soft and gives a lot under your finger. Properly cooked chicken feels firm but not rock hard. Overcooked chicken feels like a stress ball. I use this check constantly, but it took me a solid season of grilling before I trusted my hands enough to rely on it — and even now I confirm with the thermometer if there's any doubt.
Color at the bone is a red flag beginners panic about unnecessarily. Dark meat near the bone often stays pink or reddish-purple even when it's fully cooked and safe to eat. This is a myoglobin reaction from the heat and smoke, not undercooked meat. If the temperature says 175°F, it's done. Don't put it back on the grill.
Buy a good thermometer. A Thermapen or any quality instant-read in the $25–$35 range is one of the best investments you'll make in your kitchen. I've used a cheap dial thermometer that was 15 degrees off — at that point it's worse than useless because it gives you false confidence.
Resting, Slicing, and Serving It Right
Pull the chicken off the grill and let it sit for at least five minutes before you cut into it. Ten minutes for bone-in pieces. I know it's tempting — it smells incredible, people are hovering, the plates are out — but cut too soon and all those juices you worked to keep inside will run straight out onto the cutting board. The meat dries out in front of your eyes. Five minutes costs you nothing and saves the whole cook.
While it rests, tent it loosely with foil. Loosely is the key word. If you wrap it tight, the trapped steam softens the skin and you lose that crust you spent time building over the hot side of the grill. Just lay a sheet of foil across the top, edges open. That's enough to hold the heat without wrecking the texture.
When you do slice, direction matters more than most people realize. Always cut against the grain — perpendicular to the direction the muscle fibers run. On a chicken breast, those fibers run lengthwise, so slice across the short width. Cut with the grain and each bite feels stringy and tough even when the meat is perfectly cooked. I learned this the hard way on a bird I'd grilled beautifully, then sliced wrong and served to a table full of people who kept reaching for their water glasses.
For bone-in thighs and drumsticks, I don't slice at all — I serve them whole. That's how they're meant to be eaten. If you're serving a crowd and need to stretch the chicken further, thigh meat pulls apart beautifully with two forks once it's rested. Breast meat doesn't respond as well to that treatment; slice it instead, against the grain, about half an inch thick.
One last thing about the board. Use a clean one for slicing — not the same surface the raw chicken touched before it went on the grill. Cross-contamination at the end of a cook is just as much of a problem as it is at the beginning, and it's the kind of mistake that's easy to make when you're tired and hungry and ready to eat. A quick swap to a fresh board takes three seconds.
Wrapping up
Grilling chicken well comes down to a handful of things working together: starting with a decent cut and a quality bird, giving it the right preparation (a brine, a rub, or a marinade used correctly), and running a properly preheated grill with two heat zones instead of one blast of high heat. Layer in a meat thermometer and the patience to let the chicken rest before you cut into it, and you've covered every variable that causes most grilled chicken to go wrong.
If I were pointing a new cook toward one place to start, it would be bone-in, skin-on thighs with a simple dry rub — salt, smoked paprika, garlic powder, a little brown sugar — on a grill set up with a hot side and a cool side. Get that right a couple of times and the rest of the cuts start making more sense. Breasts, wings, even a spatchcocked bird become a lot less intimidating once you've got the basic heat management down.
The thermometer is the one habit worth building from the very first cook. Not because you can't eventually develop a feel for doneness, but because the feel takes a full season of grilling to trust — and in the meantime, a $30 thermometer gives you the same information instantly. Keep it next to the tongs. Use it every time. You'll stop second-guessing yourself, and the chicken will be better for it.